

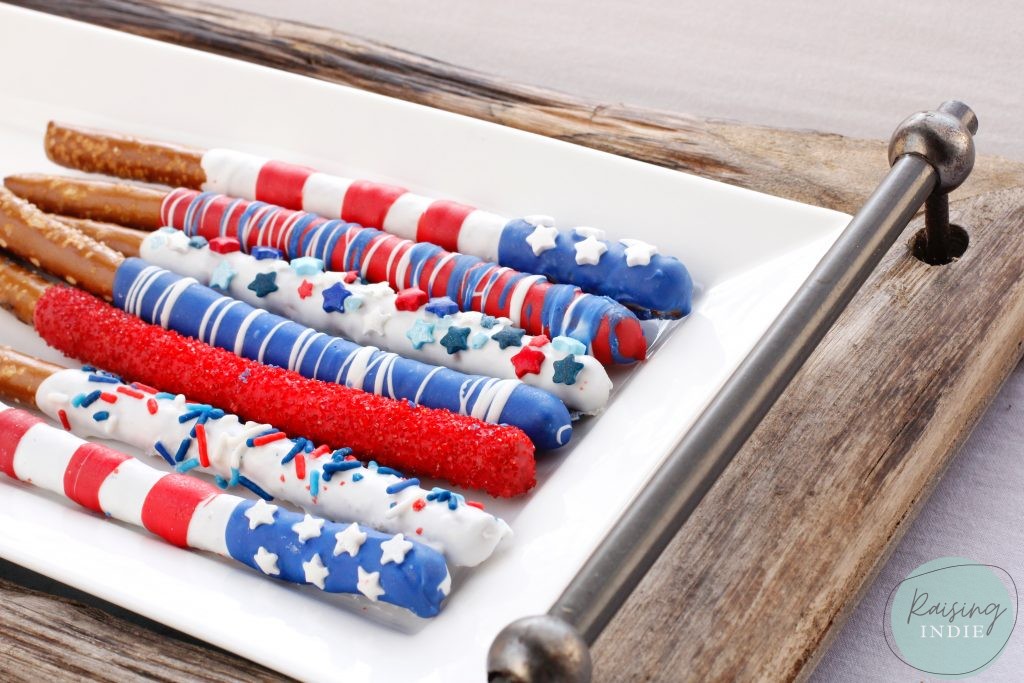
Do you know what I love most about these Patriotic Pretzel Sticks? They are easy to make in advance and store like a dream, for at least a week, if not two! Got to love that. Holidays can feel like a whirlwind with so much to do in a short time. Therefor anything I can get done in advance to lighten the load the day of, I am ALL about.
THE PROCESS
As I begin explaining the “how-to,” let me preface by saying there is more than one “right” way to cover pretzels. Mine is just one of many – over time you will find what works best for you. Also, I’ll be using the word chocolate interchangeably with whatever you’re choosing to use (candy melts, almond bark, etc.)
MELTING CHOCOLATE
Start by melting your choice of chocolate as directed on package. This is really important because you don’t want your chocolate seizing up. Some like to use a double broiler, while others use microwave. I’ve done both, but when short on time, I definitely lean towards microwave. For more specifics, check out the answers to common questions later in the post.
COVERING PRETZEL STICKS
Next, you’ll either dip or spoon the chocolate over rods (I’m a spooner, not a dipper). Gently tap the rods to get the excess chocolate off. This will help to relieve air bubbles and smooth the surface. Then place on cooling rack or directly on baking dish lined with foil. Personally, I use a cooling rack placed over a baking pan lined with foil so that the extra chocolate has a place to escape. If you place over baking pan, you also have the freedom to transfer to fridge for quick hardening if you desire.
DECORATING
Now it’s time to add the sprinkles and drizzles (prior to allowing the chocolate to harden). This can be as easy or as intricate as you’d like to make it. Here are some things I find useful:
- If you want the colors to “blend,” pour and drizzle at the same time. This creates a more even surface effect.
- If you’d like the other color to “sit on top” of the base color, wait for the base coat to harden and then drizzle or apply next layer. This creates a raised effect.
- To make for easier drizzling action, add a very slight amount of vegetable, canola or coconut oil to thin out the chocolate.
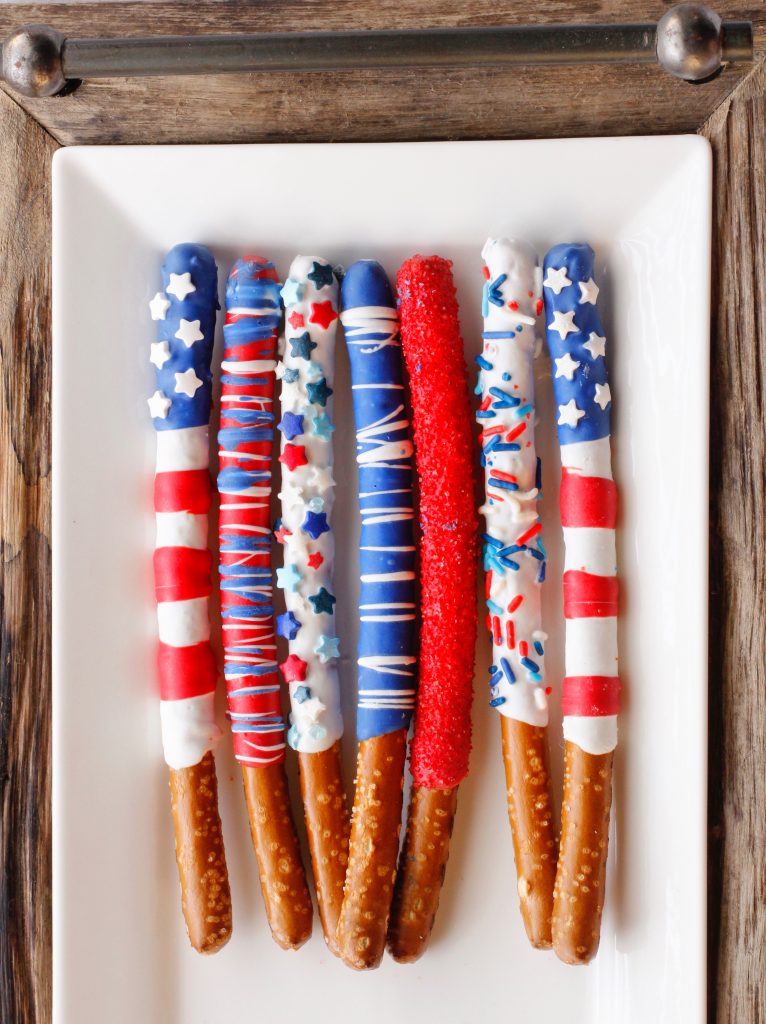
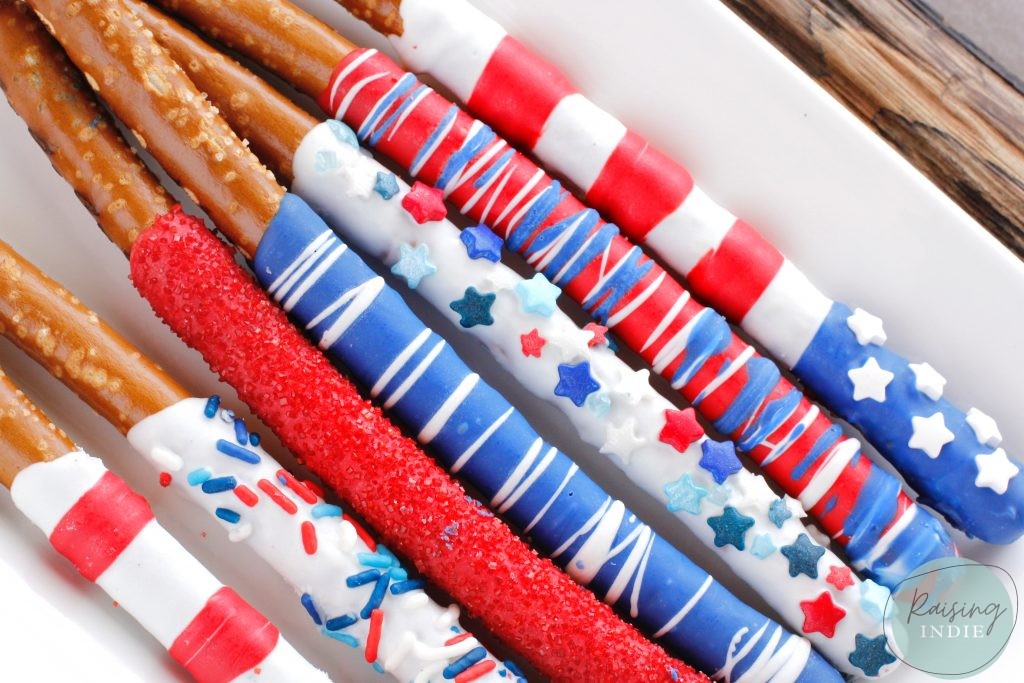
- For more complex designs, think about creating in layers – meaning that you allow the first color to harden, and then begin working on the next, and the next and so forth. As an example, for the flag sticks, I started by covering the whole stick with white chocolate first, allowing that to harden. Then I applied blue to the tip, added the star sprinkles, and then allowed that to harden. Finally I added the red stripes by drizzling the red melts, starting with a thin line and building it up.
And here are some more questions/concerns you may be having…
WHAT CHOCOLATES TO USE
There are several options for coating your pretzels, including Candiquik, almond bark, and candy melts to name a few. Candiquik and almond bark can generally be found in the baking aisle at your local grocery store, and candy melts at craft stores such as Joanne’s or Michael’s, or online. Everyone seems to have their preference in regards to taste. For the sake of these patriotic pretzel sticks, I went with candy melts from the craft store because of the colors available (and I already happened to be there). However, you can’t go wrong with any of the above choices – simply experiment and find your favorite.
HEATING CHOCOLATE
Heating chocolate can be intimidating – especially if in the past you’ve had the ever dreaded “chocolate brick” experience. You know, the one where your chocolate somehow turned into an impenetrable brick of concrete cemented to the bowl. I’ve been there – trust me.
Here’s my best advice – carefully read the package directions and take it slow. Its always easier to add more time, but it’s impossible to rewind once your chocolate has burnt. Generally speaking, I will start microwaving for 1min on 50% power, then remove and stir. After that, depending on how much chocolate I’m working with, I’ll either go to 30 or 15 second intervals at 50% power. Removing and stirring thoroughly between each interval. The closer it looks to ready, the shorter the time interval I choose. You never want your candy to overheat or it will seize/harden.
IF CHOCOLATE IS TOO THICK
Depending on the chocolate you opt to use, some can be thicker than others. If you feel your chocolate is too thick, you can add vegetable, canola oil, coconut oil or shortening in very small increments until you’ve reached desired consistency. Just remember the amount of oil affects how hard the chocolate dries – the more oil, the softer the texture. And remember, never use water to try to soften chocolate – it will ruin it!
DRY TIME AND STORAGE
Dry time will vary depending on the brand and thickness of your chocolate. However, if you pop in the fridge they should Harden rather quickly (under 10min generally). Once completely hardened, place pretzels in air-tight container or reusable plastic bag and store in fridge until serving.
USE YOUR NEW SKILLS FOR THE NEXT HOLIDAY
Get comfortable with the process and you’ll find yourself using these for more holidays. Think black and orange for halloween, pinks and reds for valentines day, green for St. Patricks day, red and green for Christmas, etc. Changing the colors of chocolate and sprinkles make this dessert appropriate for ANY holiday.
And, because they can store for up to two week, it makes this the ideal make-ahead dessert.


